
DIY Crystal Grid Boards: Sacred Geometry for Manifestation & Energy Work
Amplify Your Intentions with Sacred Geometry
A crystal grid is one of the most powerful tools in energy work—a deliberate arrangement of crystals in sacred geometric patterns that amplifies intention and creates a focused energy field. But to create truly effective grids, you need a proper foundation: a crystal grid board.
Grid boards provide structure, guidance, and amplification. The sacred geometry patterns etched or painted on the board act as energetic blueprints, directing and magnifying the crystal energy in specific ways. When you place crystals on these geometric patterns, you're not just arranging pretty stones—you're creating a living mandala of intention, a geometric engine of manifestation.
This tutorial will teach you how to create your own crystal grid boards using various methods and materials. Whether you want a simple painted design or an elaborate wood-burned masterpiece, you'll learn to craft boards that become powerful tools in your spiritual practice.
Why Create Your Own Grid Board?
Personalized energy: Infuse the board with your own intention and energy during creation.
Custom sizing: Create boards in any size for different purposes (small for travel, large for altar centerpieces).
Sacred geometry selection: Choose patterns that resonate with your specific intentions.
Cost-effective: Make professional-quality boards for a fraction of retail price ($10-30 vs. $50-150).
Artistic expression: Combine spirituality with creativity in a meaningful craft project.
Gift-worthy: Handmade grid boards make thoughtful, unique gifts for fellow practitioners.
Multiple boards: Create different boards for different intentions (abundance, love, protection, etc.).
Understanding Sacred Geometry Patterns
Flower of Life
Pattern: Overlapping circles creating a flower-like pattern
Meaning: Creation, unity, interconnectedness of all life
Best for: Universal intentions, spiritual connection, general manifestation
Difficulty to draw: Intermediate (requires compass)
Seed of Life
Pattern: Seven overlapping circles (center of Flower of Life)
Meaning: New beginnings, creation, fertility, manifestation
Best for: Starting new projects, planting seeds of intention, creation work
Difficulty to draw: Beginner-Intermediate (simpler than full Flower of Life)
Metatron's Cube
Pattern: Complex geometric pattern containing all five Platonic solids
Meaning: Balance, harmony, connection to archangel Metatron, universal energy
Best for: Protection, balance, spiritual work, angelic connection
Difficulty to draw: Advanced (very complex)
Sri Yantra
Pattern: Nine interlocking triangles radiating from center point
Meaning: Abundance, prosperity, divine feminine and masculine union
Best for: Wealth manifestation, abundance work, tantric practices
Difficulty to draw: Advanced (precise angles required)
Spiral
Pattern: Golden ratio spiral or simple spiral
Meaning: Growth, evolution, journey, natural flow
Best for: Personal growth, transformation, going with the flow
Difficulty to draw: Beginner (easy to freehand)
Hexagon/Honeycomb
Pattern: Six-sided geometric shape or multiple hexagons
Meaning: Community, cooperation, sweetness of life, productivity
Best for: Group work, community building, productivity, abundance
Difficulty to draw: Beginner-Intermediate
Pentacle/Pentagram
Pattern: Five-pointed star within a circle
Meaning: Five elements, protection, magic, balance
Best for: Protection grids, elemental work, Wiccan practices
Difficulty to draw: Intermediate
Chakra Alignment Pattern
Pattern: Seven circles or points in a vertical line
Meaning: Energy center alignment, balance, healing
Best for: Chakra balancing, healing work, energy alignment
Difficulty to draw: Beginner (simple circles)
Materials & Tools
Base Materials (Choose One)
Wood rounds/slices:
- Natural, beautiful grain
- Available in various sizes (6-18 inches)
- Can be sanded, stained, painted
- Cost: $5-20 depending on size
Plywood or MDF circles:
- Smooth, uniform surface
- Easy to paint
- Cut to any size at hardware store
- Cost: $3-10
Canvas boards:
- Pre-primed for painting
- Lightweight
- Available in circles or squares
- Cost: $5-15
Thick cardboard:
- Budget-friendly
- Good for practice or temporary grids
- Can be covered with fabric or paper
- Cost: Free-$3
Cork rounds:
- Natural, sustainable
- Can pin crystals in place
- Warm, earthy aesthetic
- Cost: $8-18
Drawing & Design Tools
- Compass: For drawing perfect circles ($5-15)
- Ruler: Straight edges and measurements ($2-8)
- Protractor: For precise angles ($3-8)
- Pencil & eraser: For sketching ($2-5)
- Templates: Printable sacred geometry patterns (free online)
- Transfer paper: For transferring designs ($5-10)
Decorating Supplies
Painting method:
- Acrylic paint (gold, silver, white, black) - $3-8 per color
- Fine-tip paintbrushes - $5-15 set
- Paint pens (gold, silver) - $8-15 set
- Acrylic sealer spray - $8-12
Wood burning method:
- Wood burning tool/pyrography pen - $15-40
- Various tips for different line widths - $10-20
- Sandpaper - $3-6
- Wood stain (optional) - $8-15
Engraving method:
- Rotary tool (Dremel) with engraving bit - $30-80
- Safety goggles - $5-10
- Dust mask - $3-8
Decoupage method:
- Printed sacred geometry design - Free (print at home)
- Mod Podge or decoupage medium - $5-10
- Foam brush - $2-5
Method 1: Painted Sacred Geometry Board (Easiest)
Difficulty: Beginner | Time: 2-3 hours + drying time | Cost: $10-25
Perfect for beginners—no special tools required.
Instructions:
- Prepare the base: Sand wood round smooth (120 grit, then 220 grit)
- Optional base coat: Paint entire board with base color (white, black, or natural wood stain)
- Let dry completely: 2-4 hours
- Find center point: Measure and mark the exact center
- Draw pattern lightly in pencil: Use compass and ruler for precision
- Or use template: Print pattern, place transfer paper underneath, trace
- Paint the design: Use fine-tip brush or paint pen in gold, silver, or white
- Work slowly: Steady hand, thin lines, multiple coats if needed
- Let dry completely: 4-6 hours between coats
- Seal: Spray with acrylic sealer (2-3 light coats)
- Final drying: 24 hours before use
Tips for clean lines:
- Use paint pens for easiest application
- Tape off sections for straight lines
- Practice on paper first
- Thin paint slightly for smoother flow
- Keep a damp cloth nearby to wipe mistakes immediately
Method 2: Wood-Burned Grid Board (Natural & Permanent)
Difficulty: Intermediate | Time: 3-5 hours | Cost: $25-50 (including tool)
Creates beautiful, permanent designs with natural wood aesthetic.
Instructions:
- Sand wood thoroughly: Smooth surface is essential for clean burns
- Draw pattern in pencil: Light lines as guide
- Heat wood burning tool: Follow manufacturer instructions
- Practice on scrap wood: Get comfortable with tool and pressure
- Burn slowly and steadily: Don't rush, consistent pressure
- Work from center outward: Prevents smudging
- Let cool completely: Don't touch burned areas while hot
- Erase pencil marks: Gently with eraser
- Optional staining: Apply wood stain for contrast, wipe excess
- Seal: Apply polyurethane or beeswax finish
Safety warnings:
- Work in well-ventilated area (burning wood creates fumes)
- Never leave hot tool unattended
- Use heat-resistant surface underneath
- Keep water nearby in case of accidents
- Let tool cool completely before storing
Method 3: Decoupage Grid Board (Quick & Easy)
Difficulty: Beginner | Time: 1-2 hours + drying | Cost: $8-18
Perfect for those who don't want to draw—use printed designs.
Instructions:
- Find and print design: Search "sacred geometry printable" online
- Size to fit your board: Adjust in image editor or at print shop
- Cut out design: Carefully trim around edges
- Prepare board: Sand smooth, wipe clean
- Apply Mod Podge to board: Thin, even layer
- Place design: Center carefully, smooth out bubbles
- Apply Mod Podge over top: Seal the design
- Let dry: 2-4 hours
- Apply 2-3 more coats: For durability and protection
- Final dry: 24 hours
Pros: Fast, no artistic skill needed, perfect reproduction of complex patterns
Cons: Less personal, paper can wrinkle, not as durable as painted or burned
Method 4: Engraved Grid Board (Advanced)
Difficulty: Advanced | Time: 4-6 hours | Cost: $40-90 (including tool)
Professional-looking, deeply engraved designs.
Instructions:
- Draw or transfer pattern: Clear, bold lines
- Secure board: Clamp to work surface
- Wear safety gear: Goggles and dust mask essential
- Start engraving: Follow lines slowly and steadily
- Multiple passes: Build depth gradually
- Clean dust frequently: Brush away wood dust to see lines
- Sand lightly: Remove any rough edges
- Optional: Fill engraved lines with gold paint or resin
- Seal: Polyurethane or oil finish
Safety critical: Rotary tools are powerful and can cause injury. Read all safety instructions, practice on scrap, work slowly.
Creating Intention-Specific Grid Boards
Abundance & Prosperity Board
Pattern: Sri Yantra or Hexagon
Colors: Gold, green, or purple
Size: 10-12 inches
Crystals to use: Citrine, pyrite, green aventurine, tiger's eye
Love & Relationships Board
Pattern: Flower of Life or Heart shape
Colors: Pink, rose gold, or copper
Size: 8-10 inches
Crystals to use: Rose quartz, rhodonite, pink opal, garnet
Protection & Grounding Board
Pattern: Pentacle or Metatron's Cube
Colors: Black, silver, or dark blue
Size: 10-14 inches
Crystals to use: Black tourmaline, obsidian, smoky quartz, hematite
Spiritual Connection Board
Pattern: Flower of Life or Merkaba
Colors: White, purple, or silver
Size: 12-14 inches
Crystals to use: Amethyst, clear quartz, selenite, labradorite
Healing & Balance Board
Pattern: Chakra alignment or Seed of Life
Colors: Rainbow or white
Size: 10-12 inches
Crystals to use: 7 chakra stones or clear quartz
Manifestation Board
Pattern: Seed of Life or Spiral
Colors: Gold or white
Size: 8-12 inches
Crystals to use: Clear quartz, citrine, pyrite, carnelian
Consecrating Your Grid Board
Before using your grid board, perform this consecration ritual:
- Cleanse: Pass smoke (palo santo or rosemary) over the board
- Charge: Place in moonlight overnight (especially powerful during full moon)
- Anoint: Dab corners with essential oil (frankincense for spiritual work, rose for love, etc.)
- Set intention: Hold board and speak its purpose aloud
- Activate: Place a clear quartz point in the center and visualize it glowing
- Seal: Ring a bell or chime over the board three times
Consecration prayer:
"I consecrate this sacred grid board as a tool for [intention]. May the geometry amplify my intentions, the crystals magnify my energy, and the universe respond to my call. This board is now activated and ready to serve. So it is."
How to Use Your Crystal Grid Board
Basic Grid Setup
- Choose your intention: Be specific and clear
- Select crystals: Choose stones that align with your intention
- Cleanse crystals: Smoke, sound, or moonlight
- Place center stone: Largest or most powerful crystal in the center
- Add surrounding stones: Follow the geometric pattern on your board
- Activate the grid: Use a clear quartz wand to connect the stones
- Speak your intention: Aloud, with conviction
- Leave undisturbed: Let the grid work (days, weeks, or months)
Activating Your Grid
- Hold a clear quartz point or wand
- Starting at the center stone, point the wand at it
- Visualize a beam of light connecting center to first surrounding stone
- Move wand to first stone, then to second, creating a line of light
- Continue connecting all stones in the pattern
- Return to center, completing the circuit
- Speak: "This grid is now activated. So it is."
Maintaining Your Grid
- Daily: Spend a moment focusing on your intention
- Weekly: Reactivate the grid by tracing the pattern again
- Monthly: Cleanse crystals and board, reset if needed
- When complete: Dismantle with gratitude, cleanse everything
Advanced Grid Board Ideas
Double-Sided Board
Paint different patterns on each side for different intentions (abundance on one side, protection on the other).
Illuminated Board
Add LED lights underneath a translucent board for glowing grids.
Portable Travel Board
Create a small 4-6 inch board that fits in a pouch with mini crystals for travel grids.
Seasonal Boards
Create different boards for each sabbat or season with corresponding colors and symbols.
Layered Resin Board
Embed the sacred geometry pattern in clear resin for a glossy, professional look.
Troubleshooting
Paint bled or smudged:
- Paint was too thin or wet
- Surface wasn't sealed properly
- Use paint pens for cleaner lines next time
- Seal with multiple thin coats instead of one thick coat
Wood burning is uneven:
- Inconsistent pressure or speed
- Wood grain affected the burn
- Practice more on scrap wood
- Sand wood very smooth before burning
Pattern is off-center or crooked:
- Didn't measure carefully enough
- Use a compass and ruler for precision
- Mark center point clearly before starting
- Use templates for complex patterns
Decoupage has bubbles or wrinkles:
- Didn't smooth out air bubbles
- Paper got too wet
- Use a credit card or squeegee to smooth
- Apply thinner coats of Mod Podge
Selling Your Grid Boards
Handmade crystal grid boards are in high demand. If you want to sell yours:
Pricing:
- Small (6-8"): $25-45
- Medium (10-12"): $45-85
- Large (14-18"): $85-150
- Add $20-50 for complex patterns or wood burning
Where to sell:
- Etsy (largest market for metaphysical items)
- Instagram (build following, sell through DMs)
- Local metaphysical shops (consignment)
- Craft fairs and spiritual festivals
- Your own website
Marketing tips:
- Show the board with crystals arranged on it
- Explain the sacred geometry meaning
- Include suggested crystal layouts
- Offer custom designs or sizes
- Package beautifully with care instructions
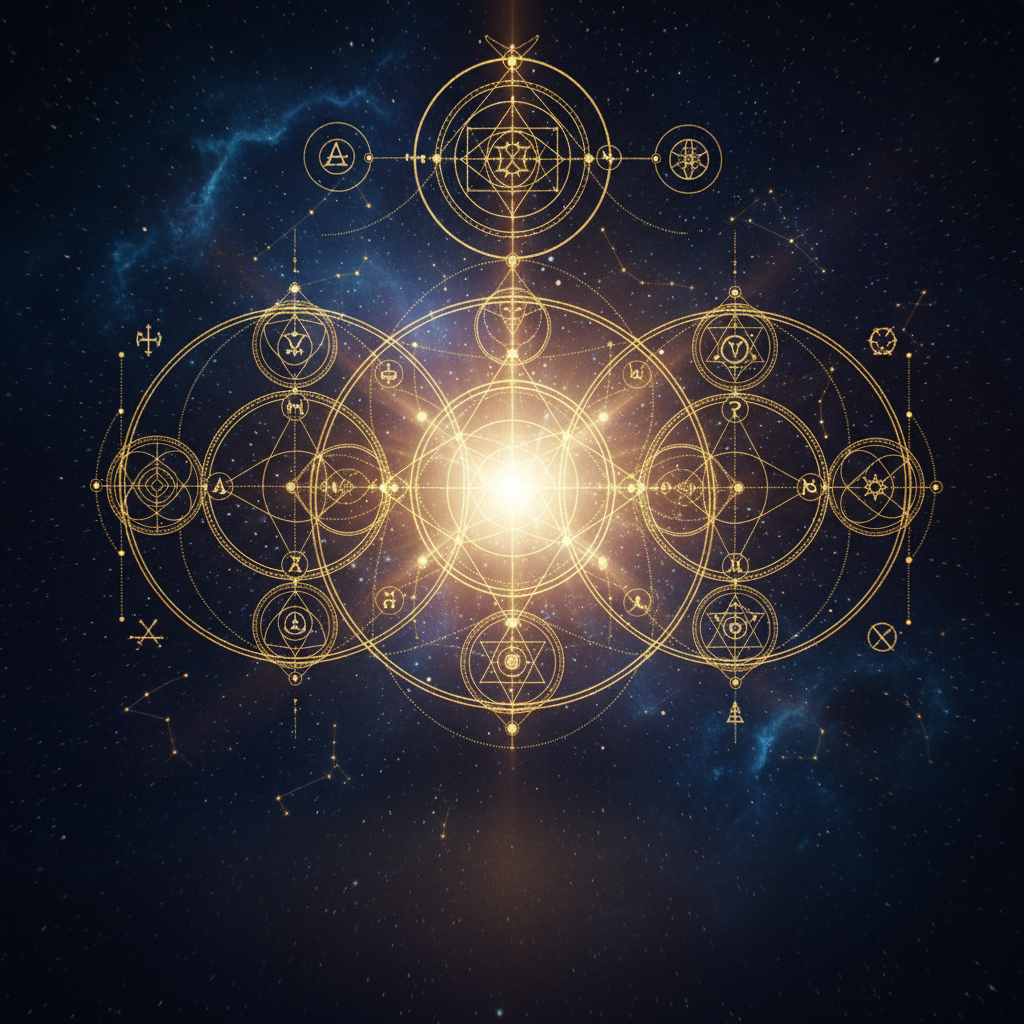
The Power of Sacred Geometry
Sacred geometry isn't just pretty patterns—it's the language of the universe, the mathematical blueprint of creation. These shapes appear everywhere in nature: in flowers, in snowflakes, in the spiral of galaxies, in the structure of DNA.
When you create a grid board with sacred geometry, you're tapping into these universal patterns, aligning your intention with the fundamental structure of reality itself. The geometry becomes a container and amplifier for your crystal work, focusing and magnifying the energy in specific, powerful ways.
This is why crystal grids are so effective—you're not just placing crystals randomly. You're arranging them according to the universe's own design principles, creating resonance between your intention and the cosmic order.
Create Your Sacred Foundation
You now have everything you need to create beautiful, powerful crystal grid boards that will become essential tools in your manifestation and energy work.
Start with a simple pattern and method that feels accessible to you. As your skills and confidence grow, you can create more elaborate boards for specific intentions.
Your grid board is waiting to be born. Let's create some geometric magic.
May your grids be powerful, your intentions be clear, and your manifestations be abundant. Happy creating! ✨🔮